
Why This Inspection Matters Before You Pay
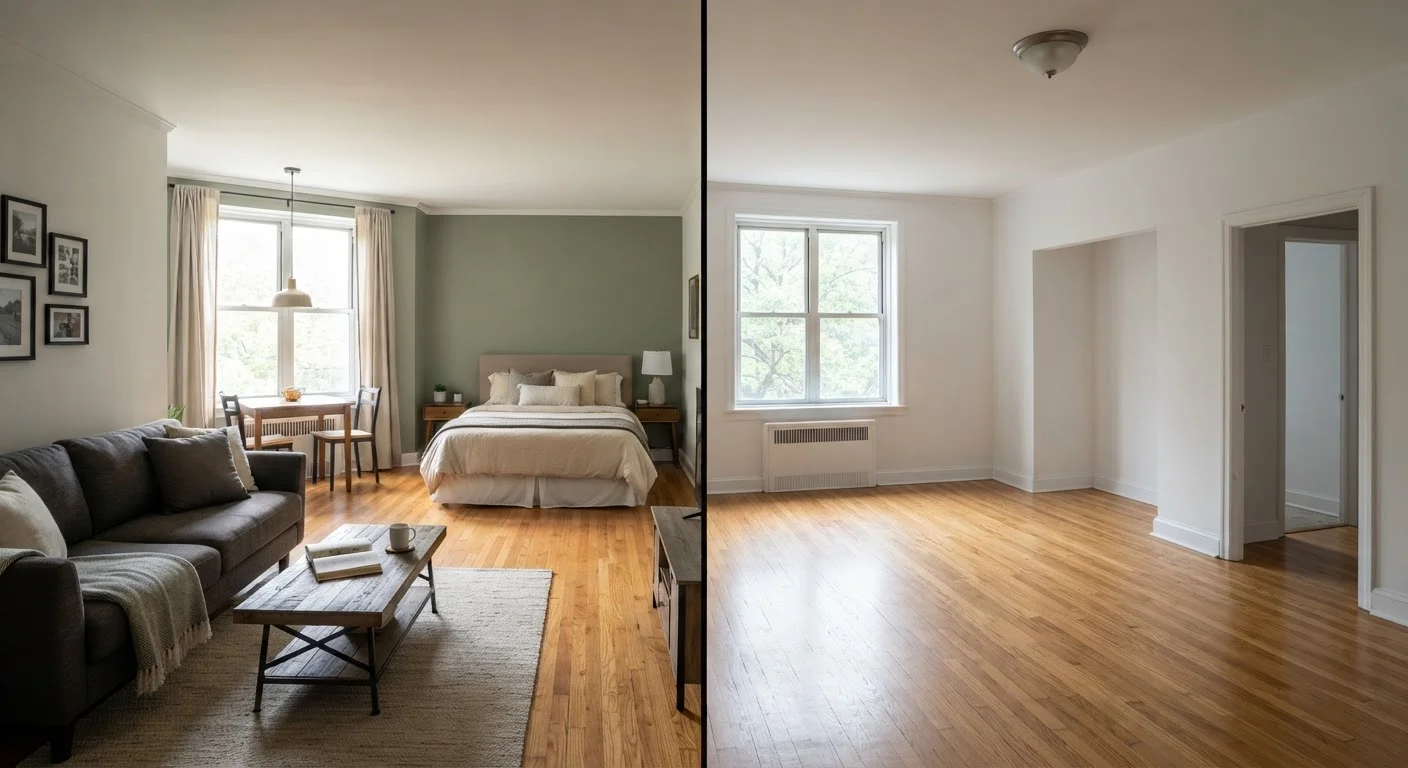
The moment you hand over a security deposit, the clock starts ticking. When you eventually move out, your landlord will compare the unit's condition at that point to its condition when you moved in. If you never documented pre-existing damage, you may find yourself paying for problems you didn't cause.
A move-in inspection — also called a walk-through inspection or move-in condition report — is a room-by-room written record of the unit's state before you bring in a single piece of furniture. It's one of the most powerful tools a renter has, and most first-timers skip it entirely.
To understand exactly what landlords are and aren't allowed to deduct from your deposit later, see our guide to security deposit rules. And when move-out day eventually comes, the moving-out checklist will help you leave on solid footing.
Don't Wait Until After You Move In
Many renters plan to do the inspection "once things settle down" — by then, a landlord may argue that damage found later was caused during your move-in day itself. Conduct the inspection before or during the handover of keys, not after furniture arrives. Some states have a legally defined window (often 24–72 hours) for submitting an inspection form, so check your lease and your state's tenant-protection laws.
What You Need Before You Start
Gather your tools before you walk in. The inspection takes 30–60 minutes done properly — rushing it defeats the purpose.
Smartphone with a working camera
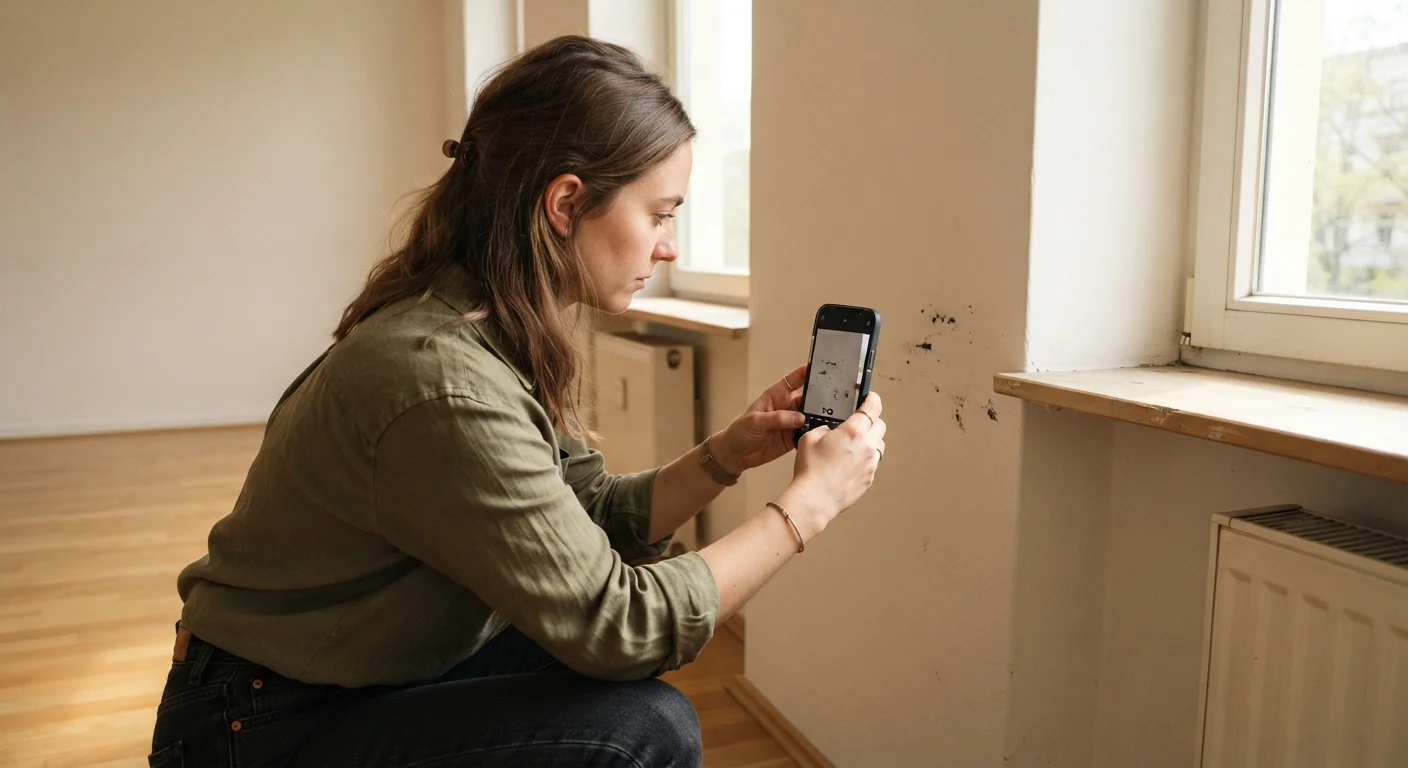
Take timestamped photos and short videos of every defect you find during the inspection.
Written move-in condition form
A room-by-room form (from your landlord, a state tenant-rights site, or written yourself) to record the condition of each surface, fixture, and appliance.
Flashlight or phone torch
Illuminate dark corners, under sinks, and inside closets where damage is easy to miss.
Pen and notepad
Record specific notes — location, size, and description — next to each item on the form.
Tape measure
Measure significant damage (large stains, holes) so the record is precise and harder to dispute.
The Room-by-Room Checklist
Work through each group systematically. Check the item, note its condition in writing ("small paint chip, 2 inches, near light switch"), and photograph it. If something is in perfect shape, note that too — a blank form looks like you didn't bother.
Walls, Ceilings & Floors
Doors, Windows & Locks
Kitchen
Bathroom(s)
Electrical, Plumbing & HVAC
Shared Spaces & Exterior (if applicable)
Your Signature Is Your Acknowledgment
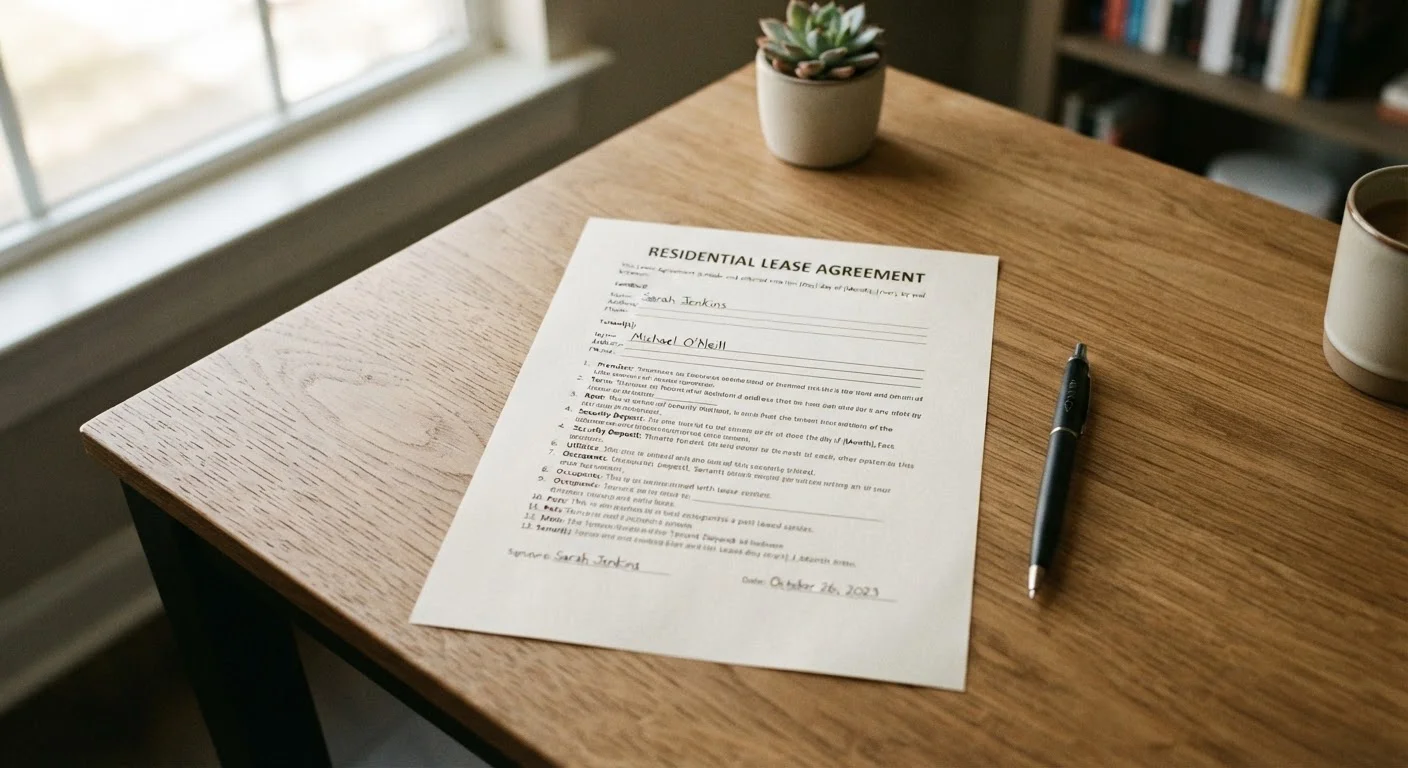
If your landlord provides a pre-filled move-in condition form, do not sign it until you have personally verified every item on it. A signature is your agreement that the form is accurate. Cross out or add notes to any item that doesn't match what you observe, and keep a signed copy for your own records.
Once you've completed the checklist, email a copy to your landlord the same day and request written confirmation that they received it. This creates a timestamped paper trail. For a deeper look at the mistakes that cost renters their deposits, see why renters lose their deposit.