
Why the Type of Damage Determines the Fix
Wall repairs look straightforward until you're standing in a hardware store aisle staring at a dozen nearly identical tubs. The confusion is understandable — but the good news is that the damage itself tells you exactly what you need. Choosing the wrong product doesn't just waste an afternoon; it can mean a patch that cracks, sags, or shows through your paint job within months.
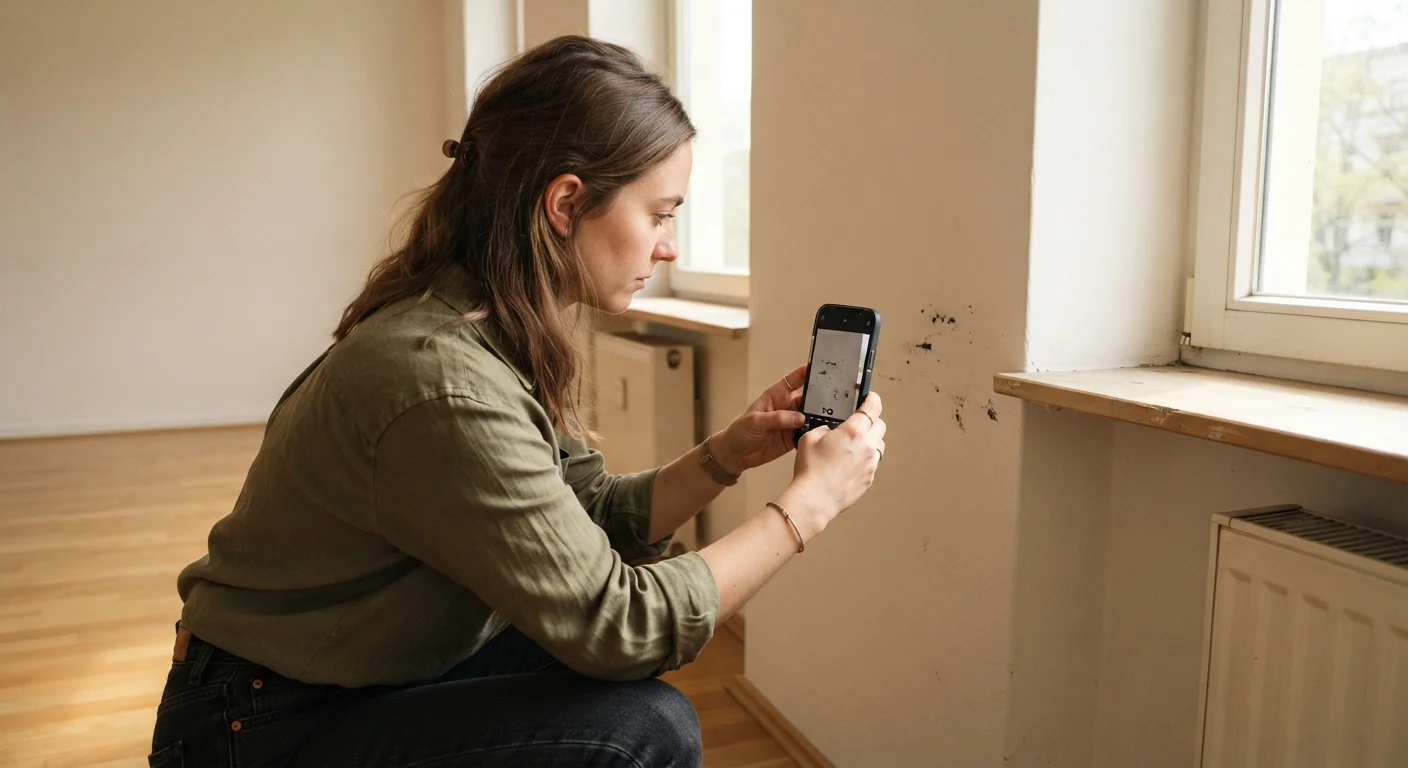
This guide is part of the broader foundation covered in what every new homeowner should know about home maintenance. Before picking up a putty knife, take a close look at your wall and ask three questions: How large is the damaged area? How deep does it go? Is the damage isolated or spread across a wider surface?
| Fill (Spackling) | Patch (Joint Compound) | Skim Coat | |
|---|---|---|---|
| Best damage size | Up to ½ inch | ½ inch to several inches | Widespread wall surface |
| Skill level needed | Beginner | Intermediate | Intermediate to advanced |
| Dry time per coat | 30–60 minutes | 12–24 hours | 12–24 hours |
| Number of coats | 1–2 | 2–3 | 2 |
| Tools required | Small putty knife | Putty knife, mesh tape, sander | Large drywall knife, pan |
| Texture matching needed | Minimal | Yes, localized | No — full wall reset |
| Prime before painting | Yes | Yes | Yes |
Fill: Spackling for Small Holes and Minor Dents
Spackling compound — sometimes called spackle — is a lightweight, fast-drying filler designed for surface-level imperfections. Think: nail holes, small screw holes, minor dents from picture frames, or chips in drywall paper no bigger than a coin.
The process is simple. Apply a small amount with a flexible putty knife, overfill slightly, let it dry completely, then sand flush with the wall surface. Most lightweight spackling dries within 30 to 60 minutes. One important note: spackling shrinks as it dries, so deeper holes may need a second thin coat rather than one thick application.
Spackling is not the right tool for holes wider than roughly a half-inch or for structural cracks. Pushing too much of it into a large void almost guarantees it will crack once dry. If you've ever patched a hole and watched it fall apart later, an oversized spackle application is often why — a mistake covered in more detail in common first-timer repair pitfalls.
Use Pink-Tinted Spackling as Your Guide
Many lightweight spackling products are pink when wet and turn bright white when fully dry. This color shift is a reliable indicator that the compound is ready to sand — don't rush it. Sanding too early will drag wet material across the surface and create a rougher patch than you started with.
Patch: Joint Compound for Larger Holes and Cracks
Once damage exceeds roughly a half-inch in diameter — doorknob holes, toggle-bolt craters, or sections where drywall paper has torn away — you need a more structural solution. Patching typically involves a physical backer (a mesh patch kit, a piece of scrap drywall, or a California patch) combined with all-purpose joint compound, also called mud.
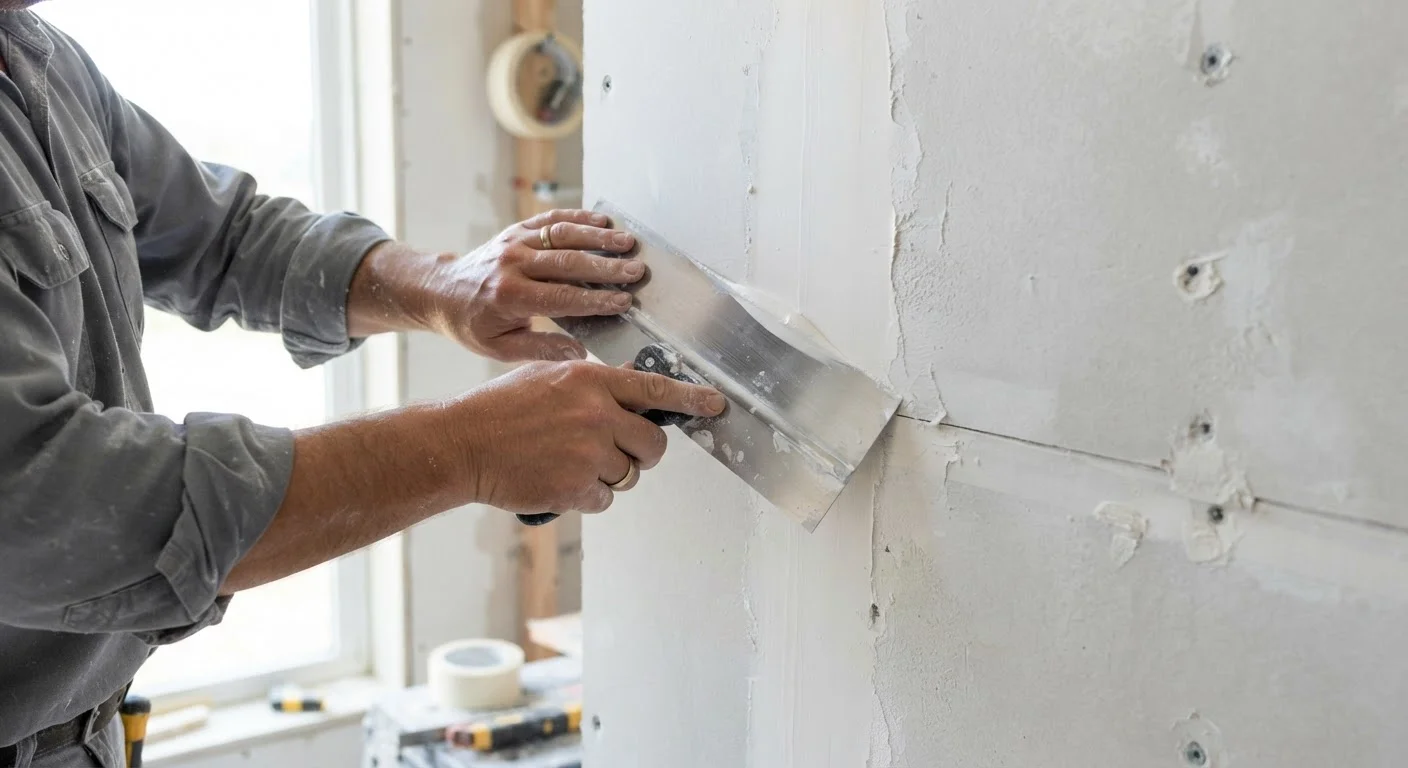
Joint compound is thicker and stronger than spackling but takes longer to dry — usually 24 hours per coat. Most patches require two to three coats, with light sanding between each, to build the surface flush without visible edges. Each coat should be applied slightly wider than the last, a technique called feathering, which blends the repair invisibly into the surrounding wall.
For thin cracks in drywall or plaster, fiberglass mesh tape applied before the first coat of compound prevents the crack from reappearing through the repair. Cracks that run along joints or corners warrant a closer look — they can sometimes signal movement in the home's structure. Reading your home's warning signs can help you distinguish cosmetic cracking from something worth investigating further.
Skim Coat: Resurfacing Walls with Widespread Damage
Skim coating is the technique of spreading a very thin, uniform layer of joint compound across an entire wall surface. It's not a patch — it's a reset. You'd choose it when a wall has too many small flaws to address individually: hairline crack networks, uneven texture from old wallpaper removal, or a rough, pitted surface that would look terrible under fresh paint regardless of spot repairs.
The process involves thinning joint compound slightly and applying it in wide, overlapping passes with a large drywall knife (typically 10–12 inches wide), then smoothing before it sets. Two thin coats are usually enough for most walls. The result is a flat, paint-ready surface. It's more labor-intensive than patching, but on a badly damaged wall it's often faster than trying to spot-repair dozens of individual problem areas.
Because skim coating affects the whole wall, texture matching becomes less of a concern — the entire surface gets the same treatment. This makes it especially useful in older homes where the original texture is impossible to replicate in small areas.
Don't Skim Coat Over Active Moisture Problems
Skim coating over a wall with an unresolved leak or persistent humidity issue will fail — the compound will bubble, crack, or peel within weeks. Before resurfacing any wall, confirm that the underlying cause of the damage has been fixed. Soft or discolored drywall is a sign the problem may still be active.
The Step Everyone Skips: Priming Before Painting
No matter which repair method you use, always apply a coat of drywall primer over the repaired area before painting. Joint compound and spackling are highly porous — they absorb paint differently than the surrounding wall. Skipping primer results in flashing, a noticeable dull spot where the repair sits even after multiple coats of paint.
A PVA drywall primer (polyvinyl acetate) is the most common choice for new patches and skim coats. A single coat, fully dry, is usually enough to seal the repair and create a uniform surface for your topcoat. If you're doing touch-up painting rather than repainting the whole wall, bring a small sample of your existing paint color to a hardware store to get it matched — fresh paint almost never blends invisibly with aged paint, even in the same color.
For repairs in wet areas like bathrooms, check that your compound and primer are rated for moisture exposure — the wrong products in a humid space can delaminate or grow mold over time. This intersects with the broader topic of choosing the right product for the right surface, similar to the logic explained in grouting vs. caulking in a bathroom.
This article is for general informational and educational purposes only. For repairs involving structural damage, electrical systems, or work that may require permits, consult a licensed professional and verify local building requirements.