

Why the Distinction Matters More Than You Think
Walk into any hardware store and you'll find grout and caulk shelved near each other, both white, both promising watertight results. For a first-timer, they can look interchangeable. They are not — and using the wrong one in the wrong place is one of the most common reasons bathroom tile repairs fail within a season.
Grout is a cement- or epoxy-based material that is rigid when cured. It's designed to fill the consistent, narrow gaps between tiles on surfaces that don't flex. Caulk is a polymer-based sealant — typically silicone or siliconized latex — that stays slightly flexible after curing. That flexibility is its entire purpose.
The root of most bathroom water damage isn't a dramatic plumbing failure. It's a small gap at a corner joint where grout cracked, water crept in for months, and nobody noticed until the drywall behind the tiles was soaked. Understanding which material goes where protects your walls, your subfloor, and your wallet.
If you've run into confusion about repair materials in general, our guide on common repair pitfalls explains why reaching for the first tube on the shelf so often backfires.
The Simple Rule: Plane Changes Get Caulk
The easiest way to remember the difference is this: if two surfaces meet at a corner or a transition, caulk goes there. If two tiles share a joint on the same flat surface, grout goes there.
Here's how that plays out in a typical bathroom:
- Grout zones: Joints between wall tiles, joints between floor tiles, joints between floor tiles and base tiles on the same plane.
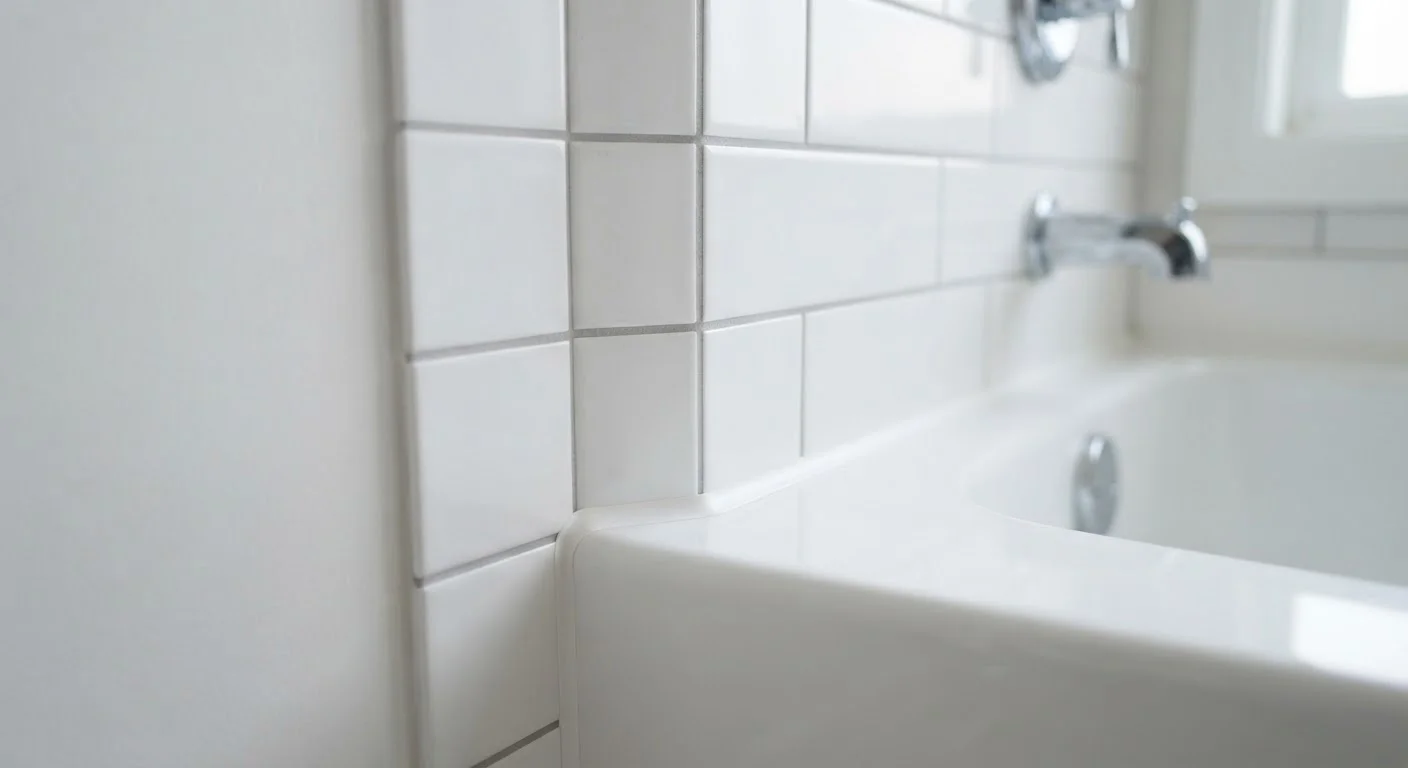
- Caulk zones: Where the tub deck meets the tile wall, where two tiled walls meet at an inside corner, where the floor tile meets the base of the wall, and where tile meets any fixture like a soap dish or built-in shelf.
Why does a corner need caulk? Buildings shift. Tubs fill with water and compress slightly under the weight, then rise again when drained. The tile wall and the tub are attached to different structural elements. When one moves and the other doesn't, a rigid material like grout cracks. A flexible caulk bead absorbs that micro-movement without breaking the seal.
| Criterion | Grout | Caulk |
|---|---|---|
| Composition | Cement or epoxy-based, rigid when cured | Silicone or latex polymer, stays flexible |
| Best location | Between tiles on the same flat plane | Corners, transitions, change-of-plane joints |
| Flexibility after cure | None — cracks under movement | Absorbs slight movement without breaking seal |
| Water resistance | Good when sealed; can absorb water if unsealed | Excellent — designed to repel moisture |
| Typical lifespan in wet areas | Many years if sealed and undisturbed | 5–10 years; re-apply when cracking or shrinking |
| Cleanup | Water before cure; difficult after | Water (latex) or mineral spirits (silicone) |
| DIY difficulty | Moderate — mixing and timing matter | Low to moderate — tooling takes practice |
For caulk applications beyond the bathroom — around windows and exterior doors — see our overview on when and where caulk belongs.
Choosing the Right Product and Applying It Correctly
Once you know which joint needs which treatment, product selection is straightforward.
For grout
Match the joint width to the product type. Joints under 1/8 inch typically use unsanded grout; wider joints use sanded grout (the sand particles add bulk and prevent shrinkage). For wet areas like showers, consider an epoxy grout — it's more resistant to staining and mold, though it requires more careful mixing and a faster working pace.
For caulk
In a bathroom, 100% silicone caulk or siliconized latex caulk labeled for kitchen and bath use are the appropriate choices. Pure silicone bonds to almost any surface and resists moisture extremely well, but it requires mineral spirits for cleanup and can be harder to tool smoothly. Siliconized latex cleans up with water and is a bit more forgiving for beginners. Both are available in colors designed to match common grout shades.
Surface prep — the non-negotiable step
Whether you're grouting or caulking, the surface must be completely dry, free of soap scum, and stripped of any old material. Old caulk can be removed with a utility knife and a plastic scraper; old grout requires a grout saw or oscillating tool. Caulk applied over damp surfaces or old caulk will peel within weeks.
When to Call a Tile Professional
Replacing a single failing caulk bead is a manageable DIY task. But if you find soft or hollow-sounding tiles, discolored drywall, or mold behind removed caulk, water has likely penetrated the substrate. At that point, surface repairs won't hold — the underlying damage needs professional assessment before any new material is applied.
For a broader look at how surface prep affects repair outcomes across your home, see our guide on choosing the right fix for damaged surfaces.