

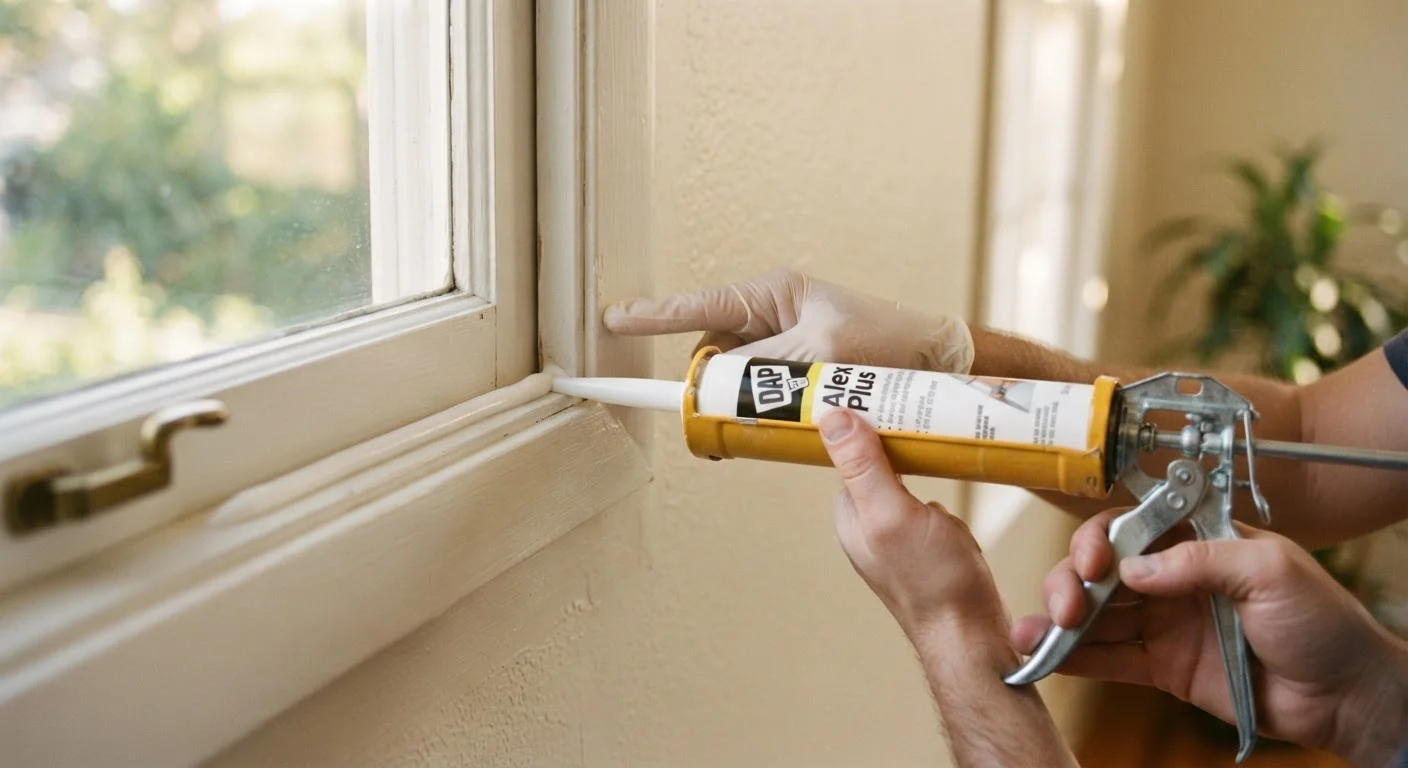
Why Small Gaps Are a Big Deal
A gap the width of a pencil running the full length of a window frame adds up to a surprising amount of open space — enough to noticeably affect how hard your heating or cooling system has to work. The U.S. Department of Energy has long identified air leaks around windows, doors, and other openings as a primary source of energy loss in American homes. Beyond energy costs, unsealed gaps let in moisture that can damage framing, drywall, and insulation over time, and they create entry points for insects.
Caulk is one of the lowest-cost, highest-impact repairs a homeowner or renter can make. It requires no power tools, no special skills, and minimal time — but it does require doing it correctly. For a broader picture of where caulking fits in your overall maintenance routine, see what every new homeowner should know about home maintenance.
25–30%
Energy lost through air leaks in typical homes
The U.S. Department of Energy estimates that air infiltration through gaps and cracks accounts for roughly 25–30% of heating and cooling energy use in residential buildings.
$0–$30
Typical cost of a tube of caulk and a caulk gun
A basic caulk gun costs a few dollars and a quality tube of exterior caulk generally runs under $15, making this one of the most affordable home repairs available.
Where Caulk Belongs — and Where It Doesn't
Caulk is the right tool for static joints — places where two different materials meet and where no intentional movement or drainage is designed in. Common locations include:
- The joint between a window or door frame and the surrounding siding or interior drywall
- Where a door threshold meets a floor or sill
- Around exterior pipes or cables that penetrate the wall
- Interior trim joints where baseboards meet walls
Equally important is knowing where not to caulk. Weep holes — small openings at the bottom of window frames — exist to drain condensation. Sealing them traps water inside the frame. Expansion joints in brick or concrete must remain flexible; they need a backer rod and a specialist joint sealant, not standard caulk. And combustion-appliance vents must never be blocked. If you're unsure whether a gap is intentional, separate the advice that genuinely works from what wastes your time before reaching for the caulk gun.
Renters: Check Before You Caulk
Major weatherproofing repairs — including re-sealing exterior window frames — are generally the landlord's responsibility under most state habitability laws. If you're renting, document any drafts or visible gaps with photos and submit a written maintenance request first. Minor interior cosmetic touch-ups may be permitted under your lease, but confirm before applying anything permanent.
Choosing the Right Caulk for the Job
Walk into any hardware store and you'll find an intimidating wall of sealant options. For first-timers, two categories cover most window and door situations:
- Siliconized latex (paintable caulk)
- The go-to for most indoor and many outdoor joints. It adheres to wood, vinyl, drywall, and masonry; cleans up with water while wet; and can be painted once cured. Look for a label that says "paintable" and is rated for exterior use if applying outdoors.
- Pure silicone
- Best for glass-to-glass or metal-to-metal joints, and for any area that stays consistently wet (like a bathtub surround). It outlasts latex blends but cannot be painted, and cleanup requires a solvent. Not ideal as a first-timer's choice for painted trim.
For anything involving bathroom tile joints, the rules change — that scenario is covered in depth in grouting vs. caulking in a bathroom.
How to Apply Caulk Correctly
Good caulk work is mostly about preparation. Rushing the prep is the most common reason a fresh bead fails within months. See common repair pitfalls that first-time fixers make for a broader look at what goes wrong.
- Remove old caulk completely. Use a plastic caulk-removal tool or a utility knife to cut and peel away failing sealant. Avoid metal scrapers on vinyl frames — they scratch.
- Clean the surface. Wipe the joint with isopropyl alcohol and let it dry fully. Any grease, dust, or moisture will prevent adhesion.
- Cut the nozzle at a 45-degree angle. Start with a smaller opening than you think you need — you can always cut more. Puncture the inner foil seal with the poker on the caulk gun handle.
- Apply steady pressure at a consistent angle. Move the gun at an even pace, pushing the bead into the gap rather than dragging it over the surface.
- Smooth immediately. Wet your fingertip with water (for latex) or a smoothing tool, and run it along the bead in one continuous pass before a skin forms — usually within 5–10 minutes.
Do a Practice Bead First
Before running caulk along a visible joint, practice on a piece of cardboard or scrap wood. Getting a feel for the gun's trigger pressure and your movement speed takes only a minute but saves you from a lumpy, uneven bead on your actual window frame. A smooth, consistent bead is easier to achieve with a little muscle memory first.