
Why Radiators Trap Air — and Why It Matters
Central heating systems circulate hot water from a boiler through a network of pipes and radiators. Over time, small amounts of air enter the system — through the water itself, through minor gaps at joints, or simply as a normal byproduct of how the system works. Because air is lighter than water, it rises and collects at the highest point in each radiator, forming a pocket that hot water cannot fill. The result is a cold patch at the top of the radiator, reduced heat output across the room, and — if multiple radiators are affected — a boiler that has to work harder and longer to meet your thermostat's target temperature.
Bleeding is the process of opening a small valve to release that trapped air. It is one of the most effective and low-effort pieces of home maintenance you can do, and it requires no trade experience or special knowledge. Think of it as similar to the fluid checks covered in our guide to basic vehicle fluid checks — small, routine tasks that prevent bigger problems down the line.
Radiator Bleed Key
Fits into the bleed valve on the radiator and allows you to open and close it to release trapped air.
Small Bowl or Container
Placed under the bleed valve to catch any water that escapes once the air has been released.
Old Cloth or Towel
Useful for wiping up drips and protecting walls or carpets near the radiator.
What You Need Before You Start
The good news is that bleeding a radiator requires almost nothing in terms of equipment. The bleed key — sometimes called a radiator key — is the only item you are unlikely to already own, and it costs very little at any hardware store. Some modern radiators use a flat-head screwdriver slot instead of a square key fitting, so check your valves before heading out to buy one.
What you will need
It is also worth knowing where your boiler is and roughly how to read the pressure gauge before you start. Bleeding can cause a small pressure drop, and being prepared to top it up afterwards means the job is truly complete. If you are ever unsure about water supply or pressure issues, our guide to shutting off your water supply is a useful read to have in your back pocket.
Step-by-Step: How to Bleed a Radiator
Do Not Bleed a Hot, Pressurised System
Opening a bleed valve on a running or recently running system can cause scalding water to spray at pressure. Always switch off the heating and wait at least 30 minutes before starting. This is the single most important safety step in the entire process.
Turn your heating on and identify which radiators need bleeding
Switch your central heating on and wait about ten minutes for everything to warm up. Then carefully run your hand near (not directly on) each radiator. If the top of a radiator feels noticeably cooler than the bottom, that radiator likely has trapped air and needs bleeding. Make a mental note of which ones are affected.
Turn the heating off and allow the system to cool
Switch your heating off completely and wait at least 30 minutes before proceeding. Working on a hot, pressurised system risks burns from scalding water. The radiators do not need to be completely cold, but they should feel warm rather than hot to the touch.
Locate the bleed valve
The bleed valve is a small, square-shaped insert — typically made of brass — located at one end of the radiator, near the top. It looks different from the larger thermostatic or lockshield valves at the bottom of the radiator. Your bleed key will fit directly over or into this square fitting.
Position your cloth and container, then open the valve
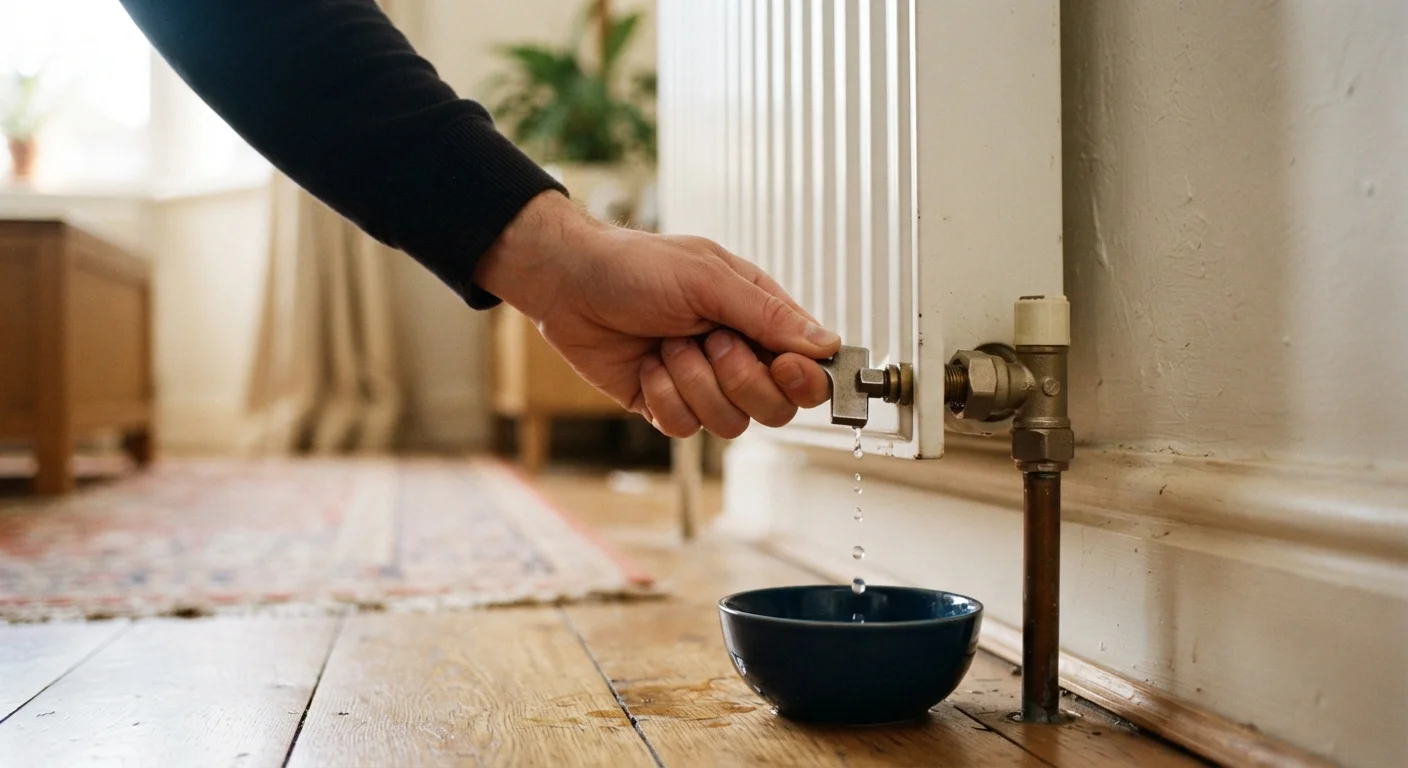
Hold your container directly below the bleed valve and have your cloth ready. Insert the bleed key into the valve and turn it slowly counter-clockwise — no more than a quarter to half a turn. You should hear a hissing sound as air escapes. This is completely normal and means the process is working.
Close the valve when water appears
Keep the valve slightly open until the hissing stops and a steady trickle or small stream of water begins to flow. Once water appears consistently — with no more spurts of air — turn the bleed key clockwise to close the valve firmly. Do not over-tighten; firm hand pressure is enough.
Check the boiler pressure and restore heating
Bleeding releases a small amount of water from the system, which can reduce your boiler's pressure. Find your boiler's pressure gauge — it is usually on the front of the unit and looks like a dial or a digital readout. Most systems should sit between 1 and 1.5 bar when cold. If the pressure has dropped below 1 bar, you will need to top it up using the filling loop (a flexible braided hose connected to the boiler). Consult your boiler's manual for the exact top-up procedure, as it varies by model. Once pressure is correct, turn your heating back on and check that the previously cold radiators now heat evenly.
Make Bleeding Part of Your Annual Routine
Most homeowners bleed their radiators once a year, typically at the start of the heating season in autumn. Doing this before you actually need the heat means you will not be troubleshooting cold rooms on the coldest days of the year. Add it to a simple seasonal home checklist alongside smoke alarm tests and boiler servicing.
After the Job: What to Watch For
Once you have bled all the affected radiators and restored the boiler pressure, turn the heating back on and give the system 15 to 20 minutes to reach temperature. Feel along the surface of each bled radiator — it should now heat evenly from bottom to top, with no obvious cold patches near the top. If a radiator is still cold across its entire surface rather than just at the top, the issue may be a closed or faulty valve rather than trapped air, and a heating engineer can diagnose that quickly.
Persistent radiator problems sometimes point to a broader issue like sludge buildup inside the system (known as magnetite or black sludge), which reduces circulation and efficiency. A professional power flush — where the entire system is cleaned under pressure — can address this, though it is a more involved job. For everyday slow-drains and minor blockages elsewhere in the home, our guide to clearing a blocked drain shows a similar DIY-first approach.
Know When to Stop and Call a Professional
If water streams out immediately when you open the valve with no air hissing first, or if bleeding one radiator causes a significant and persistent pressure drop in the boiler, stop and call a qualified heating engineer. These signs can indicate a larger system problem — such as a faulty pressure relief valve or a leak — that goes beyond routine maintenance.