
Why Drains Clog — and What You're Actually Dealing With
A slow or completely blocked drain is one of the most common household annoyances, and in most cases the cause is straightforward. Bathroom sinks and tubs accumulate hair, soap scum, and toothpaste residue over time. Kitchen sinks suffer from grease and food particles. Understanding what's causing the blockage helps you choose the right approach before you reach for any tools.
The clog is almost always located in one of two places: the drain trap (the curved pipe section directly beneath the drain — the U- or P-shaped bend visible under your sink) or farther down in the drain line. Trap clogs are shallow and easy to clear. Line clogs are deeper and may require more effort.
Before starting, gather your tools and lay down old towels to protect the area under the sink. If you haven't located your home's main water shutoff valve yet, now is a good moment — see our guide to shutting off your water supply for a quick walkthrough.
What you will need
Step-by-Step: Clearing the Clog
Work through these steps in order. Most clogs resolve before you reach the final step.
Remove visible debris from the drain opening
Put on your rubber gloves. Remove the drain stopper if there is one — most bathroom stoppers lift straight out or unscrew counterclockwise. Use needle-nose pliers or your fingers to pull out any hair, soap buildup, or debris sitting just inside the drain. This step alone resolves a surprising number of slow drains.
Try hot water first
Run the hottest tap water available for 30–60 seconds directly into the drain. For kitchen sinks, hot water can loosen grease buildup. For bathroom drains, it softens soap scum. If the drain clears or noticeably improves, you're done. If water still pools, move to the next step.
Plunge the drain
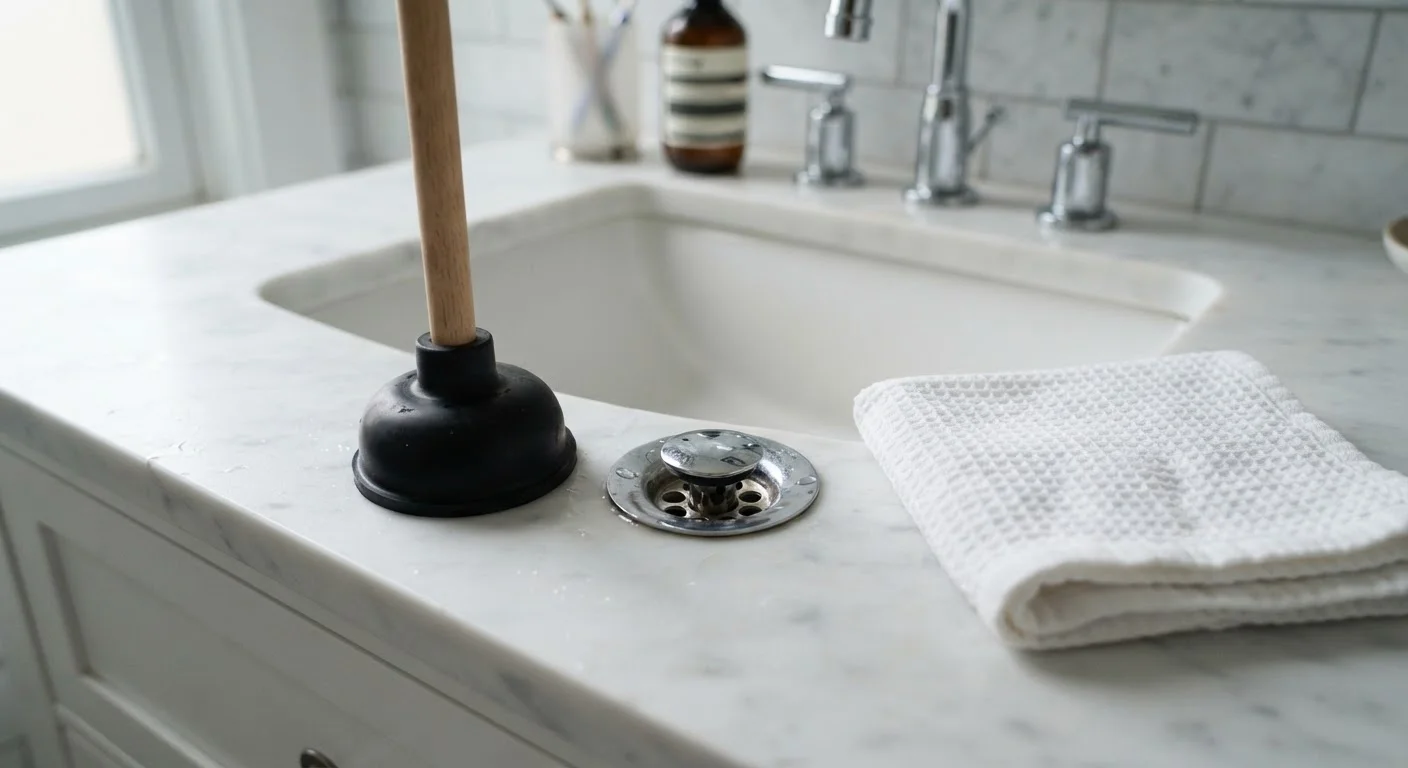
Fill the sink with enough water to cover the bottom of the plunger cup (about 2–3 inches). Place the cup firmly over the drain opening, creating a seal. Push down slowly then pull up sharply — repeat 10–15 times. The pressure change is what dislodges the clog, so maintaining a good seal matters more than force. Test by letting the water drain and running the tap again.
Use a drain snake to reach deeper
Feed the end of the drain snake into the drain opening. Turn the handle clockwise as you push it deeper — you'll feel resistance when you hit the clog. Keep rotating to break it up or hook it so you can pull it out. Withdraw the snake slowly, pulling the clog with it. Run water to confirm the drain is clear.
Remove and clean the P-trap
If snaking didn't work, the clog may be sitting in the P-trap itself. Place a bucket directly beneath the curved pipe under the sink. Use your wrench or pliers to loosen the two slip-nut fittings at each end of the P-trap — it will unscrew by hand once the nuts are loose. Remove the trap, empty it into the bucket, and clear any debris. Rinse it with water, then reattach it hand-tight first, then snug with the wrench. Run water and check for leaks at the fittings before closing up the cabinet.
Avoid Chemical Drain Cleaners
Products containing lye (sodium hydroxide) or sulfuric acid are marketed as quick fixes, but they carry real downsides. They can corrode older metal pipes, degrade PVC fittings over repeated use, and create a hazardous situation if you then need to plunge or snake — the chemical can splash back. Mechanical methods are safer and generally more effective for the types of clogs you'll encounter in everyday use.
When to Stop and Call a Professional
DIY drain clearing has clear limits. Stop and contact a licensed plumber if you notice any of the following:
- Multiple drains backing up simultaneously — this points to a main sewer line issue, not a local clog.
- Water backing up in unexpected places — flushing a toilet and seeing water rise in the tub suggests a blockage deep in the drain system.
- Foul sewage smell persisting after clearing — could indicate a venting or sewer problem.
- The same drain clogs repeatedly within weeks — a sign of a structural issue or a clog too deep for hand tools.
Knowing when to hand off a task is its own skill. Our guide on where DIY ends and a professional begins outlines exactly which home tasks are safe to tackle yourself and which carry real risk.
Prevent Future Clogs with One Cheap Tool
A simple mesh drain screen — available at most hardware stores — catches hair and debris before it enters the drain. Cleaning it every week or two takes seconds and can eliminate the majority of future clogs entirely. It's one of the easiest maintenance habits to build in a new home.