
Step 1: Get Pre-Approved for a Mortgage
Before you browse a single listing, your first move is getting mortgage pre-approval — a written statement from a lender confirming how much they're willing to lend you based on your income, debts, credit score, and assets. This is different from pre-qualification, which is a rough, self-reported estimate. Pre-approval involves submitting real documentation and carries real weight with sellers.
You'll typically provide recent pay stubs, two years of tax returns, bank statements, and authorization for a credit check. The lender then issues a pre-approval letter with a maximum loan amount. That ceiling defines your realistic price range.
Apply to Multiple Lenders Within a Short Window
Shopping multiple lenders for mortgage rates typically results in several hard credit inquiries. However, credit scoring models generally treat multiple mortgage inquiries made within a 14–45 day window as a single inquiry, limiting the impact on your score. Compare at least two or three lenders before committing.
Knowing your budget upfront also tells you what your monthly mortgage payment will look like, so you're not surprised later. If you encounter unfamiliar terms during this process, our first-time buyer glossary breaks down the language lenders use.
This article provides general educational information about the home-buying process. It is not financial, legal, or investment advice. Consult a licensed mortgage professional and attorney for guidance specific to your situation.
Step 2: Find a Buyer's Agent and Start Searching
A buyer's agent is a licensed real estate professional who represents your interests — not the seller's. In most US transactions, the seller pays both agents' commissions, though you should confirm fee arrangements before signing any agreement. Your agent will help you identify properties, schedule tours, interpret disclosures, and negotiate on your behalf.
When touring homes, look beyond staging and décor. Focus on structural elements: roof condition, HVAC age, water stains on ceilings, and foundation cracks. These are the costly surprises that cosmetic improvements can mask.
30–60 days
Typical time from offer acceptance to closing
The Consumer Financial Protection Bureau (CFPB) notes that most purchase transactions take four to eight weeks to close after an offer is accepted, depending on loan type and local market conditions.
2–5%
Closing costs as a share of home price
According to the CFPB, buyers should budget 2–5% of the loan amount for closing costs, which cover lender fees, title insurance, prepaid taxes, and other settlement expenses.
1–3%
Typical earnest money deposit
Earnest money amounts vary by market; in competitive areas, buyers sometimes offer more to signal serious intent to sellers.
Step 3: Make an Offer
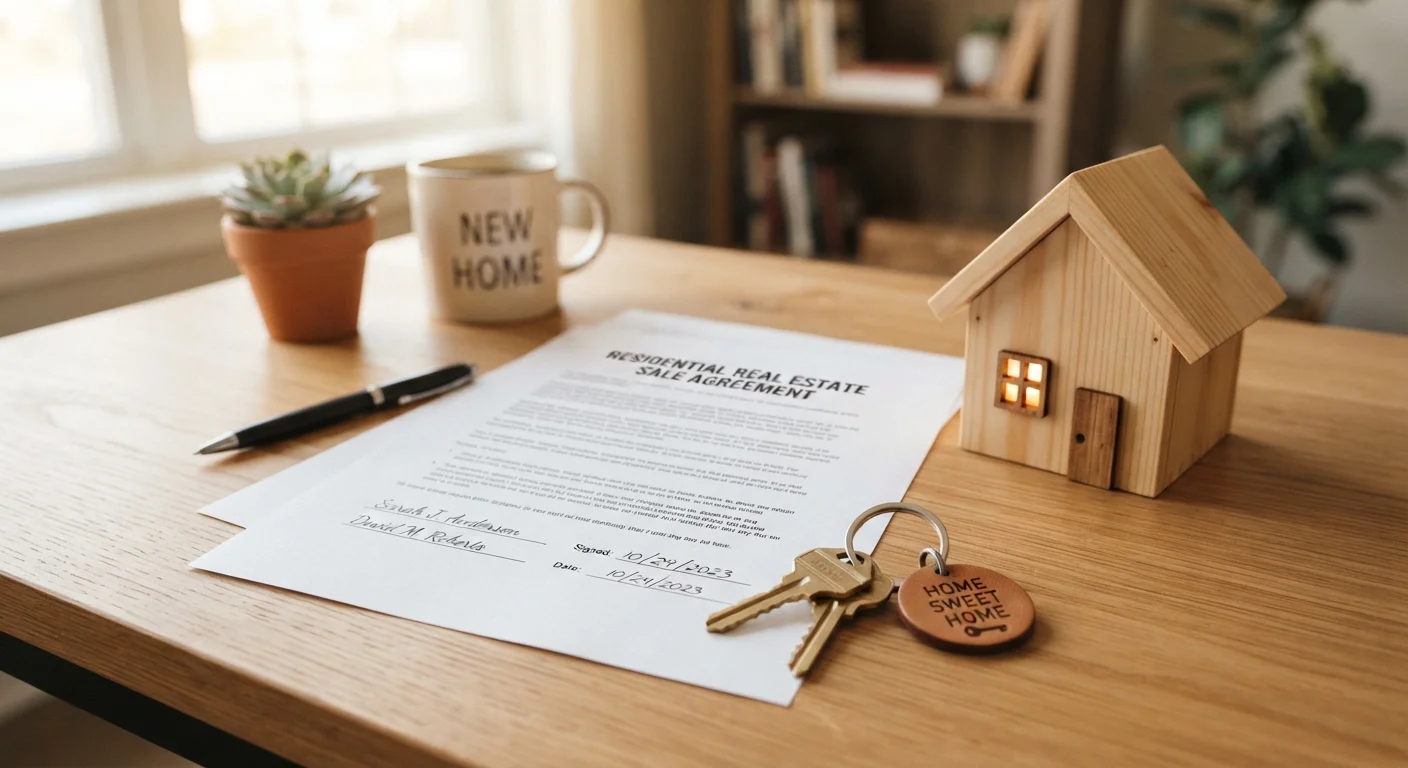
Found a home you want? Your agent will help you draft a purchase offer — a formal legal document that includes your proposed price, earnest money deposit, desired closing date, and contingencies. Contingencies are conditions that must be met for the sale to proceed; common ones include a satisfactory home inspection and your ability to secure financing.
The seller can accept, reject, or counter your offer. Negotiation is normal. Once both parties agree in writing, you're officially under contract.
Earnest Money Is at Risk If You Back Out Improperly
Your earnest money deposit is held in escrow and is typically non-refundable if you walk away from the deal for reasons not covered by your contingencies. Before waiving any contingency — such as the inspection or financing contingency — understand exactly what you're giving up. Consult your agent and, if appropriate, a real estate attorney.
Step 4: Go Under Contract
Being under contract (also called being "in escrow" in many states) means the sale is agreed upon but not yet final. You'll submit your earnest money — typically 1–3% of the purchase price — to a neutral third party, often an escrow or title company, who holds it until closing.
This phase has deadlines. Your contract specifies windows for completing the inspection, securing financing, and conducting any additional due diligence. Missing these deadlines can put your earnest money at risk or void the contract. Protect yourself by reading our guide on mistakes that cost buyers their deal between offer and closing.
Step 5: The Home Inspection
A licensed home inspector examines the property's visible and accessible systems — roof, electrical, plumbing, HVAC, foundation — and delivers a written report, usually within 24–48 hours. You should attend if possible; walking through with the inspector is far more informative than reading the report alone.
After reviewing the report, you have options: accept the home as-is, ask the seller to make specific repairs, request a price reduction to cover repair costs, or — if the issues are severe enough — walk away with your earnest money intact (provided your contract includes an inspection contingency).
Hire your own inspector independently — don't rely solely on referrals from your agent or the seller. Look for inspectors certified by organizations such as ASHI (American Society of Home Inspectors) or InterNACHI.
An inspector you find independently has no relationship with the transaction and is more likely to deliver an unbiased, thorough assessment.
Request a final walkthrough of the property 24 hours before closing to confirm the home is in the agreed-upon condition and that any negotiated repairs were completed.
Issues discovered after closing are your financial responsibility; verifying the property's state before you sign is your last protected opportunity to raise concerns.
Step 6: Final Loan Approval and Appraisal
While you're navigating inspections, your lender is processing your full loan application. They'll order a home appraisal — an independent assessment of the property's market value conducted by a licensed appraiser. If the appraisal comes in lower than your agreed purchase price, your lender will only finance up to the appraised value, creating a gap you'd need to cover out of pocket or renegotiate with the seller.
Your lender will also issue a Closing Disclosure at least three business days before closing — a standardized document itemizing every cost associated with your loan. Compare it carefully against your earlier Loan Estimate; the numbers should align closely.
Loan Types Affect the Appraisal Process
FHA and VA loans have additional appraisal requirements beyond market value — the appraiser also assesses whether the property meets minimum property condition standards. If the home doesn't meet those standards, the seller may be required to make repairs before the loan can close. Conventional loans generally have fewer property condition requirements at the appraisal stage.
Step 7: Closing Day
Closing is the final step where legal ownership transfers to you. You'll sit down (often at a title company's office) with a stack of documents to sign — the deed, mortgage note, and various disclosures. Bring a government-issued photo ID and a certified or cashier's check (or arrange a wire transfer) for your closing costs, which typically run 2–5% of the loan amount and cover lender fees, title insurance, prepaid property taxes, and homeowner's insurance escrow.
Once all documents are signed and funds are transferred, the title company records the deed with the county. You receive the keys. You're a homeowner.
Owning a home introduces a new set of responsibilities — from seasonal maintenance to emergency repairs. Our home maintenance hub is built to help new owners stay on top of it all. And if you're still weighing whether to buy or rent, compare the two paths in our renting basics hub.
This article is for general informational and educational purposes only. It does not constitute legal, financial, or real estate advice. Consult licensed professionals — including a real estate attorney and mortgage adviser — before making decisions about purchasing property.